
Stick with me and I’ll show you how to make your flip flaps function within your page protector.
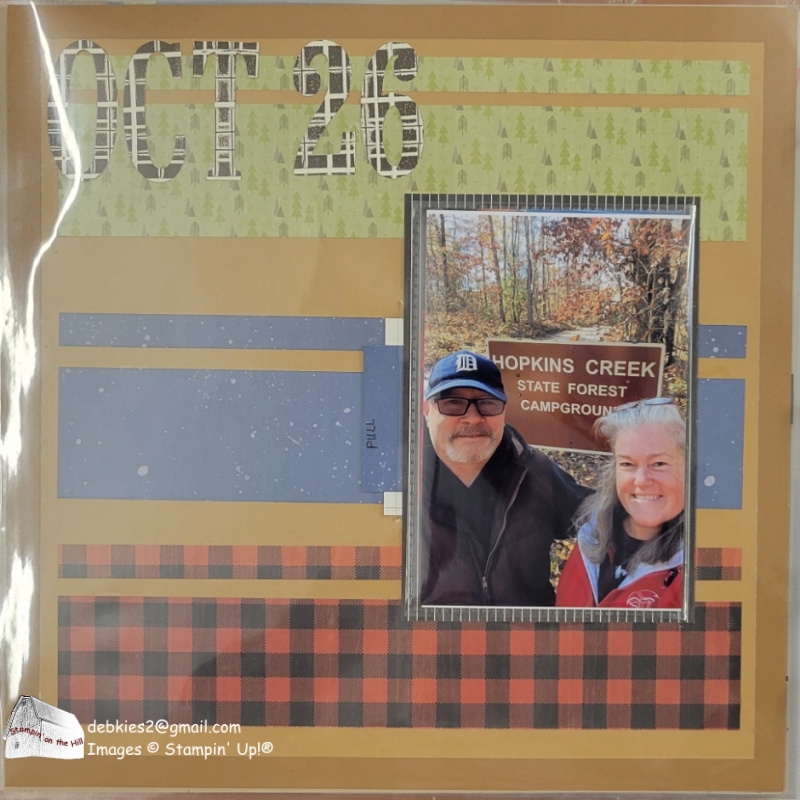
I’m still finishing up our camping season, so I’m using the Weekend Adventures Designer Series Paper.
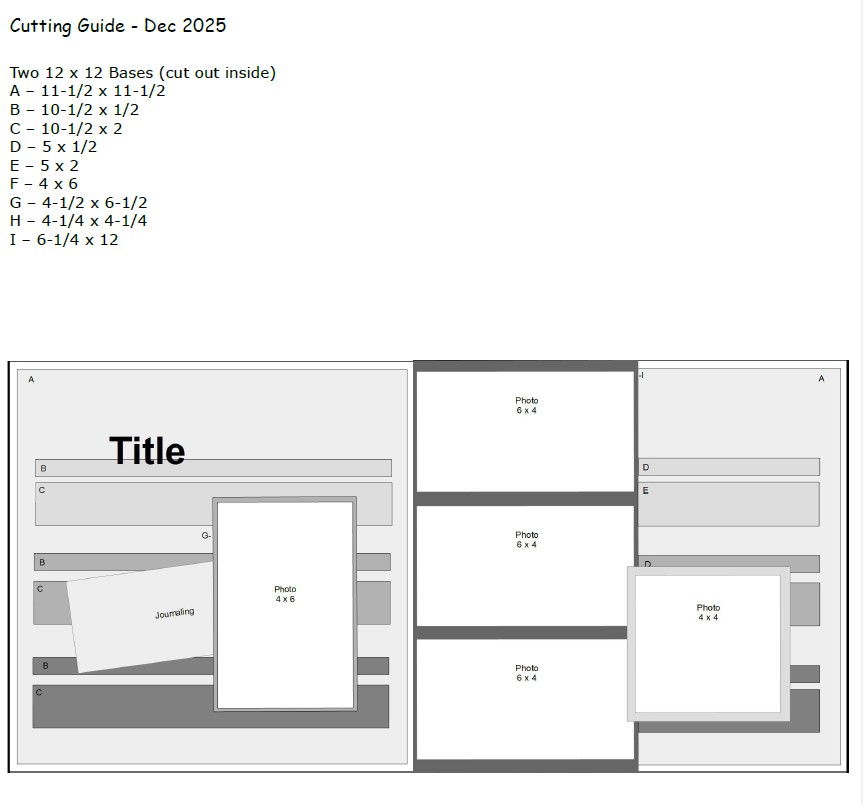
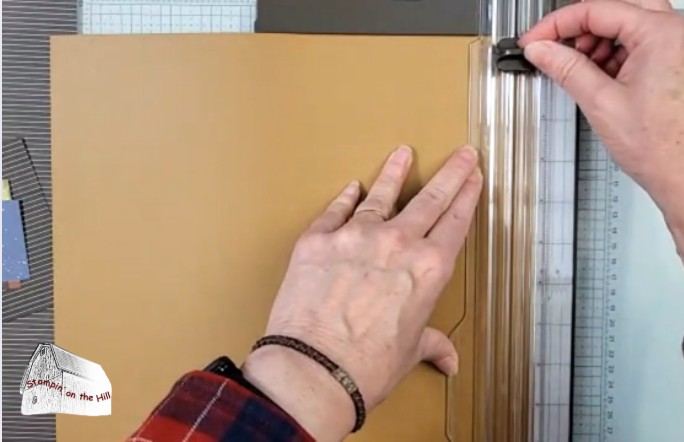
Instead of layering the 11-1/2″ square on a 12″ square, I chose to save paper by cutting my two-tone cardstock 1/2″ from each edge to cut out the center. Then I flipped the center over and taped it back together. Now I have that different colored edge!

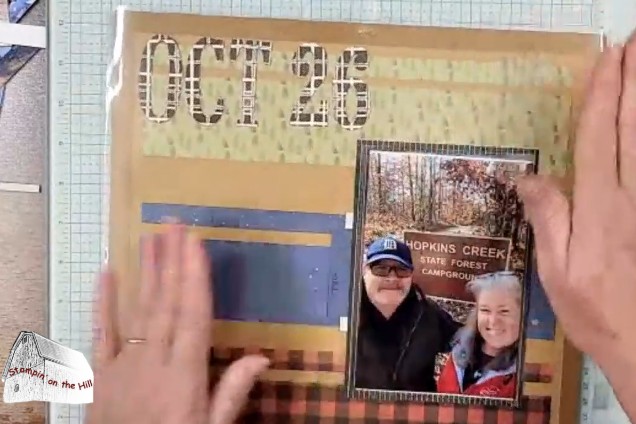
Once the background pages were finished, I added the photos. The left page uses a flip flap so I can add a couple of extra photos without cluttering up the page.
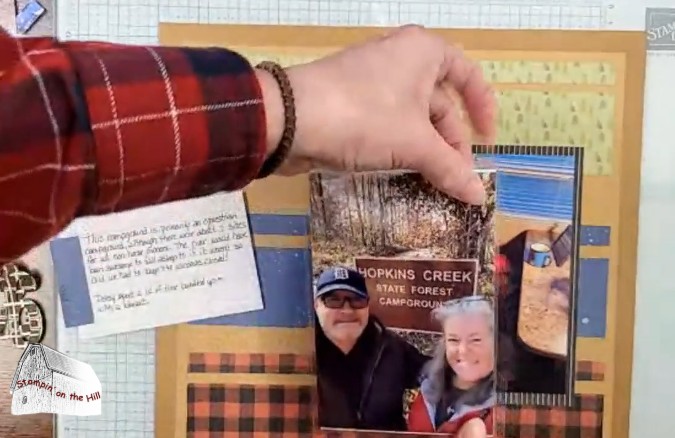
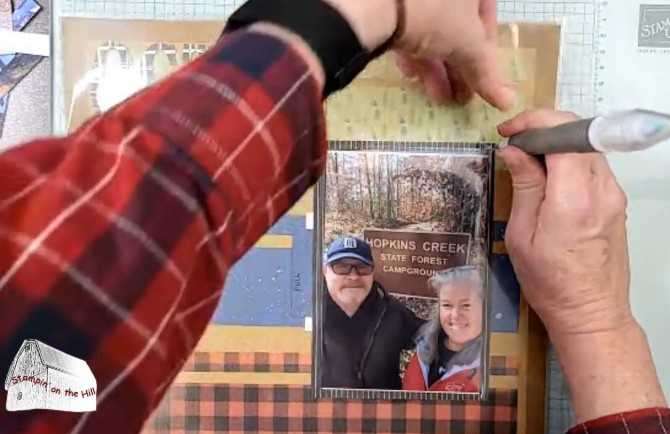
After sliding my page into the clear page protector, I need to be able to flip that flap, right? Using the piercing tip of my Take-your-pick tool, I poked a hole through the protector at the top and bottom of the flip flap “hinge”. Then I slid a piece of cardboard in and using a straight edge and the blade of my scissors, connected those two dots to make a slit. Then I can easily pull my flip flap through.


I repeated this for both of my journaling cards as well.
Check the full video for how I created the title!
