
There are several ways to add texture to your projects with nothing more than your hands! I’ll show you on three different mediums.
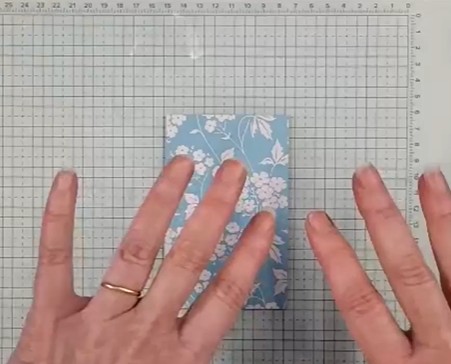
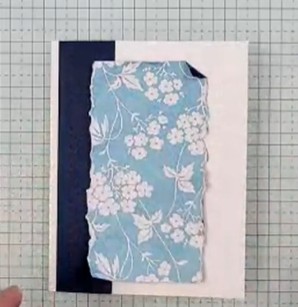
First is Designer Series Paper. This DSP is True Blue Florals which was previously the Stampin’ Up! product-of-the-month. January, I think.
All you do is crumple the paper. Yes! Wad it up in a ball, then flatten it out and repeat several times. The more wrinkles, the better.
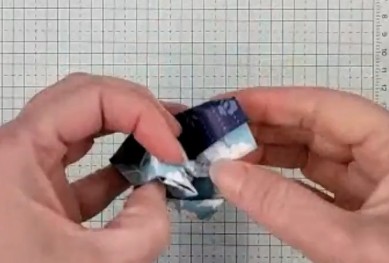
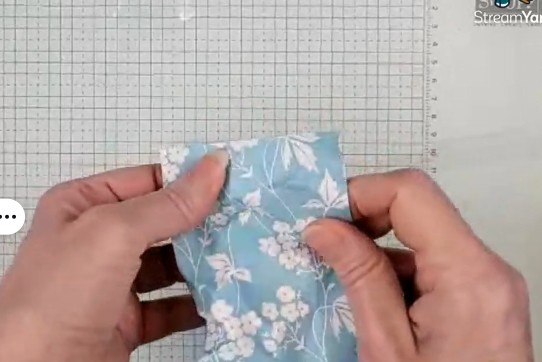
You may add it now, but I chose to rip both long edges. Be sure to rip toward you and keep your fingers close together to control the tear. Be sure when you adhere it, your adhesive is in the spots that will contact the layer below.
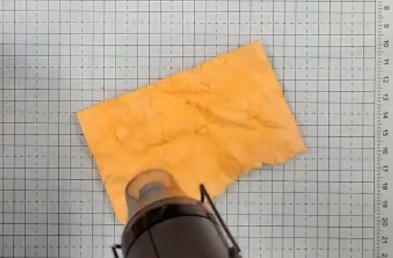
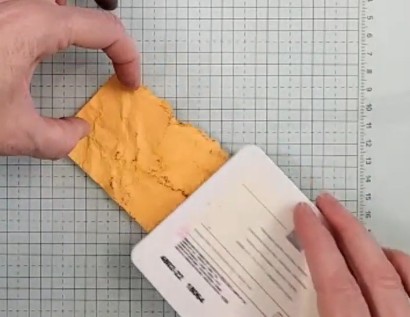
After I used DSP, I tried this method with regular cardstock. I found that softening the cardstock up by spritzing it with water on both sides made it easier to crumple. Just be sure to allow it to fully dry before adhering it (or use a heat tool).
I decided to add a little more color to this by lightly dragging my inkpad over the raised portions. This is called the “direct to paper” technique.
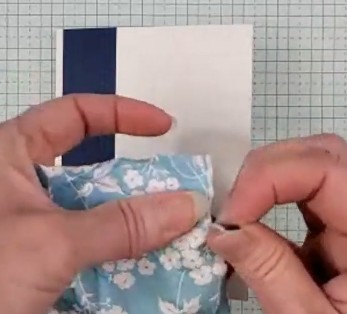
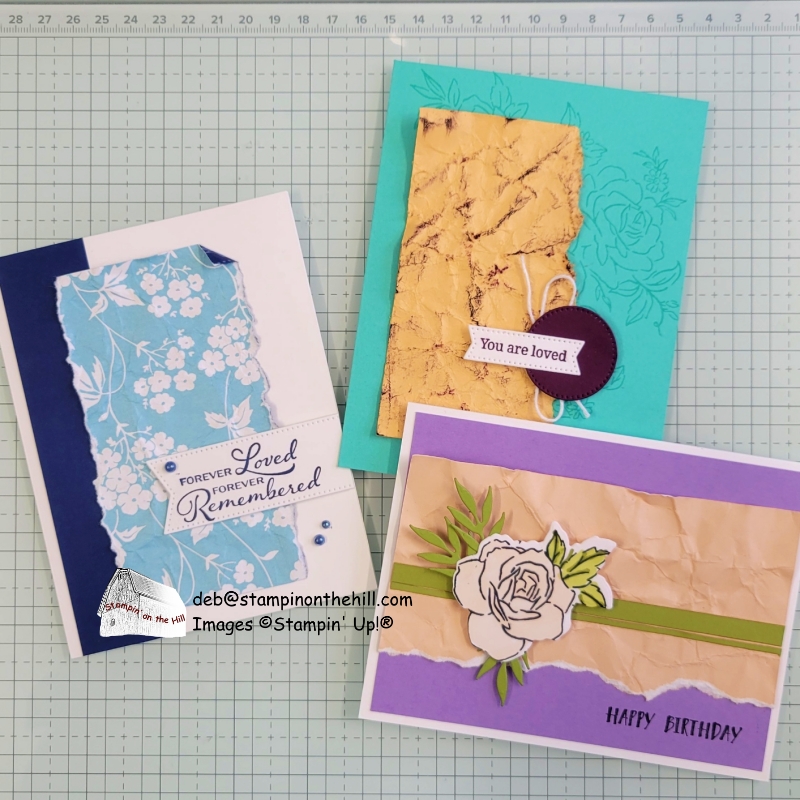
Next, I tried two-tone cardstock. I really like that after it’s torn, the edge is white. It was on the DSP too, but not as noticeable with the lighter DSP I used. I didn’t use the water spritzer this time.
Of course, I’m still featuring the Layers of Beauty Bundle (163519), so I used it on both the second and third cards.
Check out the 3 minute video for a few more details!

Thanks for being here! If this post inspired you or sparked an idea, leave a comment — I’d love to hear from you.