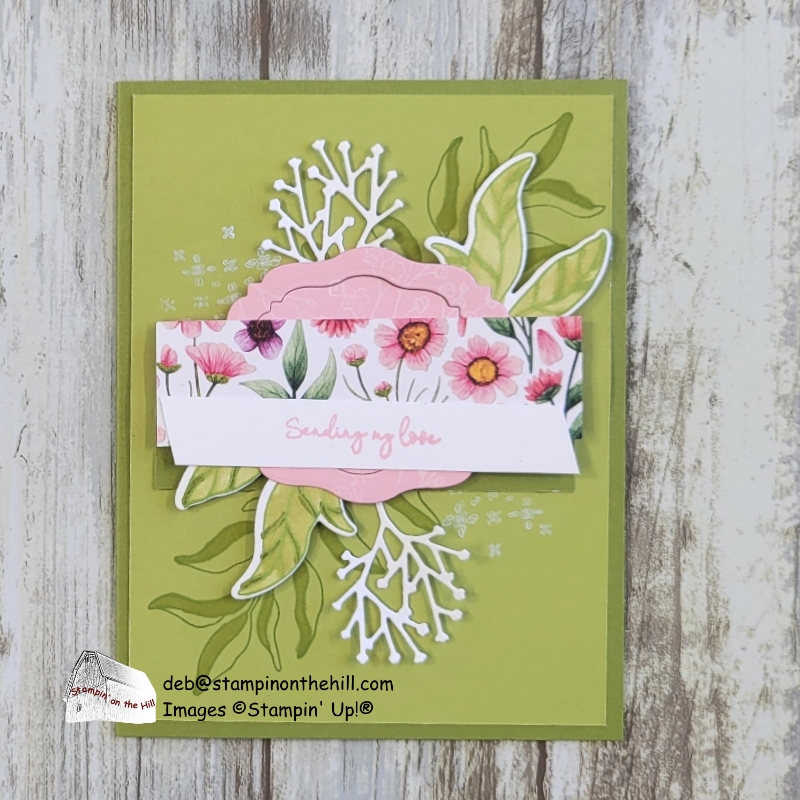
Here’s another one from the May class in case you missed it…
This one is a bit more fussy, but you can do it!
Here’s the cutting list:
- Old Olive: 5-1/2 x 8-1/2 scored at 4-1/4
- Basic White: 4 x 5-1/4 (inside); 3-1/2 x 1/2 (greeting);
- 4 x 4 (die cuts)
- Old Olive two-tone: 4 x 6 (front)
- Floral Impressions DSP: 3-1/2 x 1
- Pretty in Pink: 3 x 2-1/2
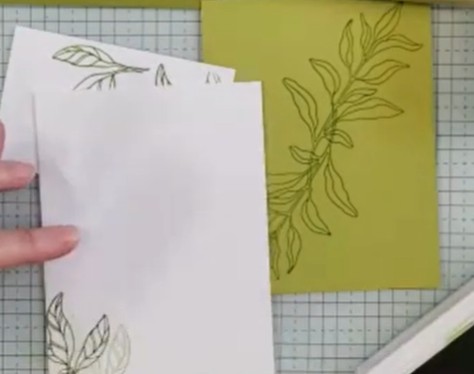
Start with cutting the two-tone down to 4 x 5-1/4. Stamp the large leaves on the light side of the two-tone with Old Olive ink. I also stamped two of the smaller leaves on White and on the inside piece. For the inside, I inked once and stamped twice to get that look. You may choose to color in the leaves or leave them as is. I used the light Old Olive Stampin’ Blend for coloring the outside pieces.
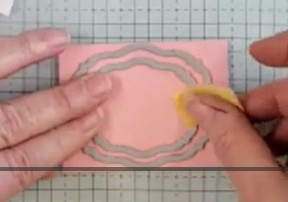
Cut the smallest two frames from Pretty in Pink. Either hold them together or place a piece of tape on the back. Stamp the small branch randomly in white craft ink. Also using the white ink, stamp the texture image on the two-tone near the left and right open space in the middle.
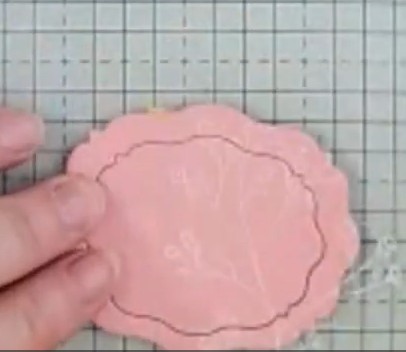
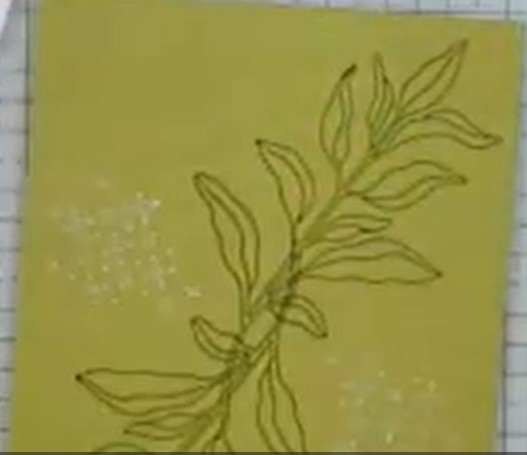
Stamp the greeting and trim the ends on an angle.
Use the dies to cut out both sets of small leaves and two small branches.
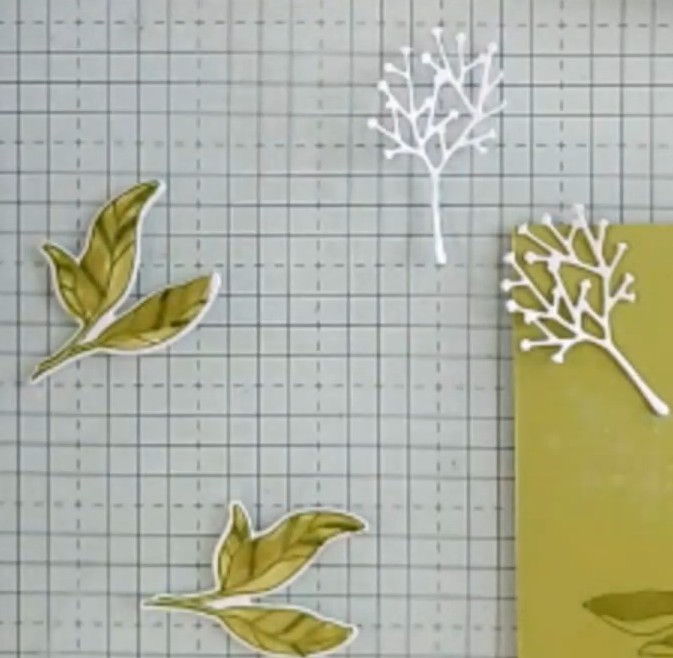
Let’s assemble! Adhere the two-tone to the card base. Then adhere that strip of two-tone that we cut off horizontally just below center. (I ended up trimming mine down to 3″ (same as DSP).
Holding the pink pieces together, add a line of adhesive across the center and adhere the DSP to this.
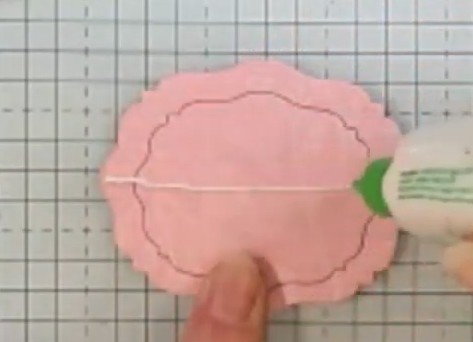
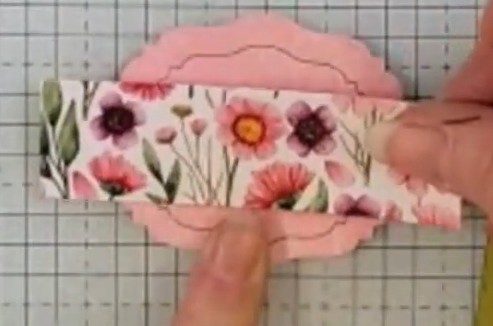
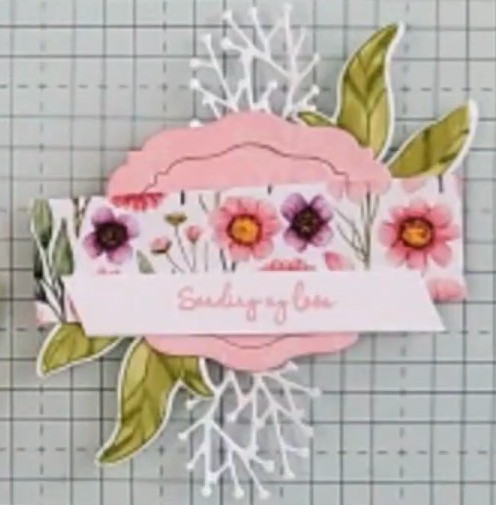
Adhere the greeting to the DSP. Then adhere the two sets of leaves and white branches to the back of the frames. Adhere this focal point to the card front with dimensionals.
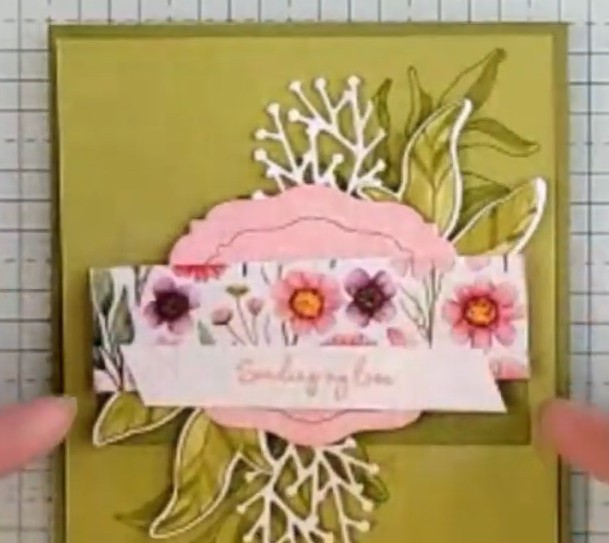
Adhere the inside and you’re finished!!!
To view the whole class including the fun fold:
 Stampin' on the Hill